I told another teacher about this sculpture project and he was upalled at the materials and lack of earth-friendliness of the artwork. I got the idea here. I have found it is an excellent way for students to consider form because they have to place the tape in the direction of the different planes of the objects they are using.
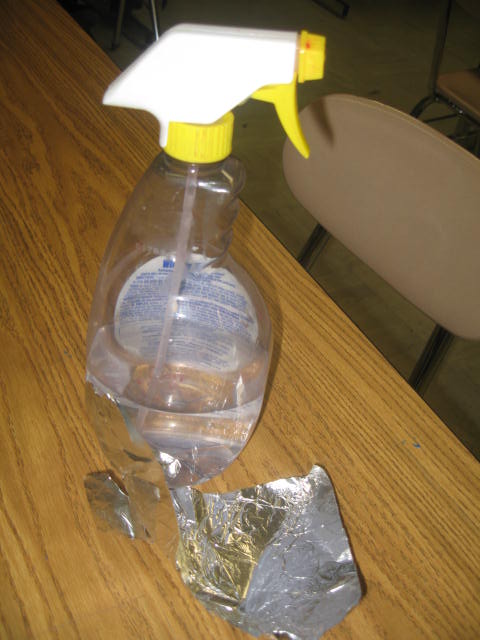
Step 1: Find an object with interesting forms. I used this assignment this year to have students consider pop art/culture.
Step 2: Cover the object with plastic wrap or aluminum foil.
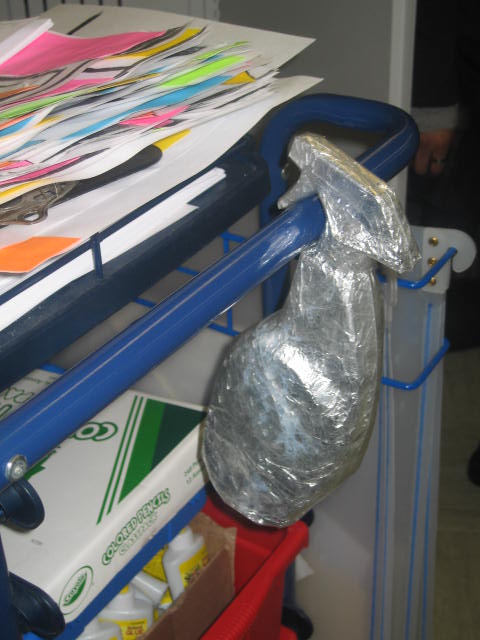
Step 3: Tape, tape, tape, and tape some more.
Step 4: Cut out your object with a straight-edge. (If the students have used their favorite childhood toy as their armature you may want to help them cut because then the razor should be slid under the tape face-up to make the cut. This breaks the "never cut toward yourself" rule of safety in the art room.)


Step 5: Tape your sculpture back together.

Step 6: Display in a deliberate place to photograph, or install for viewing. (I had my students consider where the actual object would be, or where it would never be.)


No comments:
Post a Comment