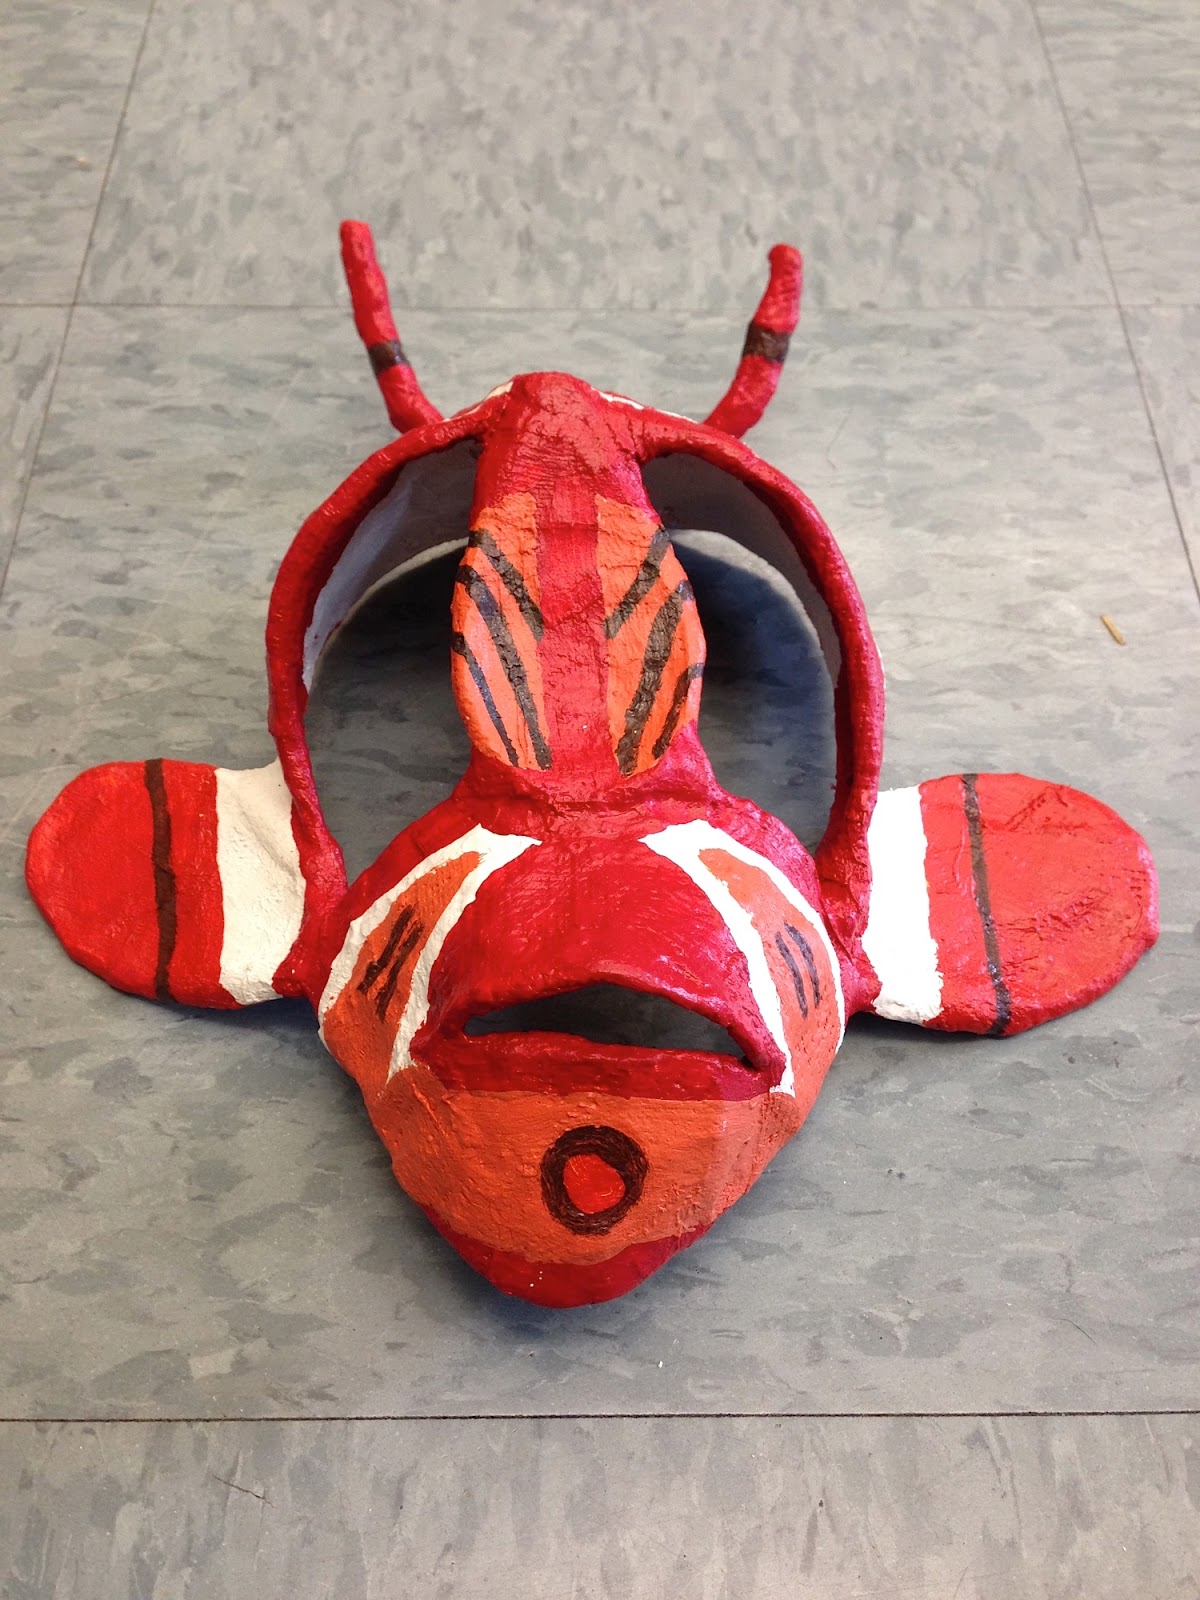
In Art III: Graphic Design we are studying art history ideas and styles, and the history and purposes of masks. Here are the two I'm making as examples in class.
What can I say, I love making hands out of plaster. I can't explain it. It's not high art by any means, but there is something in it that is quite satisfying for me.
This was much better. It is much closer to the actual size of the object. I also added some details. I promise I'll only post one more picture, after I finally spray paint it.
First you put shims around your object. For this I used a pie plate and a bit of tape. (Make sure you do not have any undercuts in your object. If you do, you must mask them. Eg. if you want to create a water bottle the bottom is usually indented, so you have to put a circle of shim on it.)
Next you coat the shims and your object in petroleum jelly, and then flick plaster all around. Build it up so you have thick enough wall so that it won't break. I would highly recommend not going as crazy as I did with the plaster. (You don't need that much!)
Make sure your shims are showing all around. Even the bottom, but do not pull it apart until it has set.
When it's dry and hard you should coat the inside with petroleum jelly again. Line up the mold and put rubber bands around it to keep it together. Then pour liquidish plaster in your mold. Make sure you swish it around and pour it out at least once to coat every part of the mold otherwise air bubbles can be trapped. Then pour the rest of your plaster in and wait for it to set. I took mine out too soon and I had to carve away a section that cracked off. That is why my sculpture is so much smaller than my object.
I do have to admit I went a bit crazy with this, but it is fun. Now I have to decide what I will do with them...Should I paint? Should I plaster them all together? Should I create bases? I don't know. I might just make more too!